How to turn a drone flight into a 3D scene
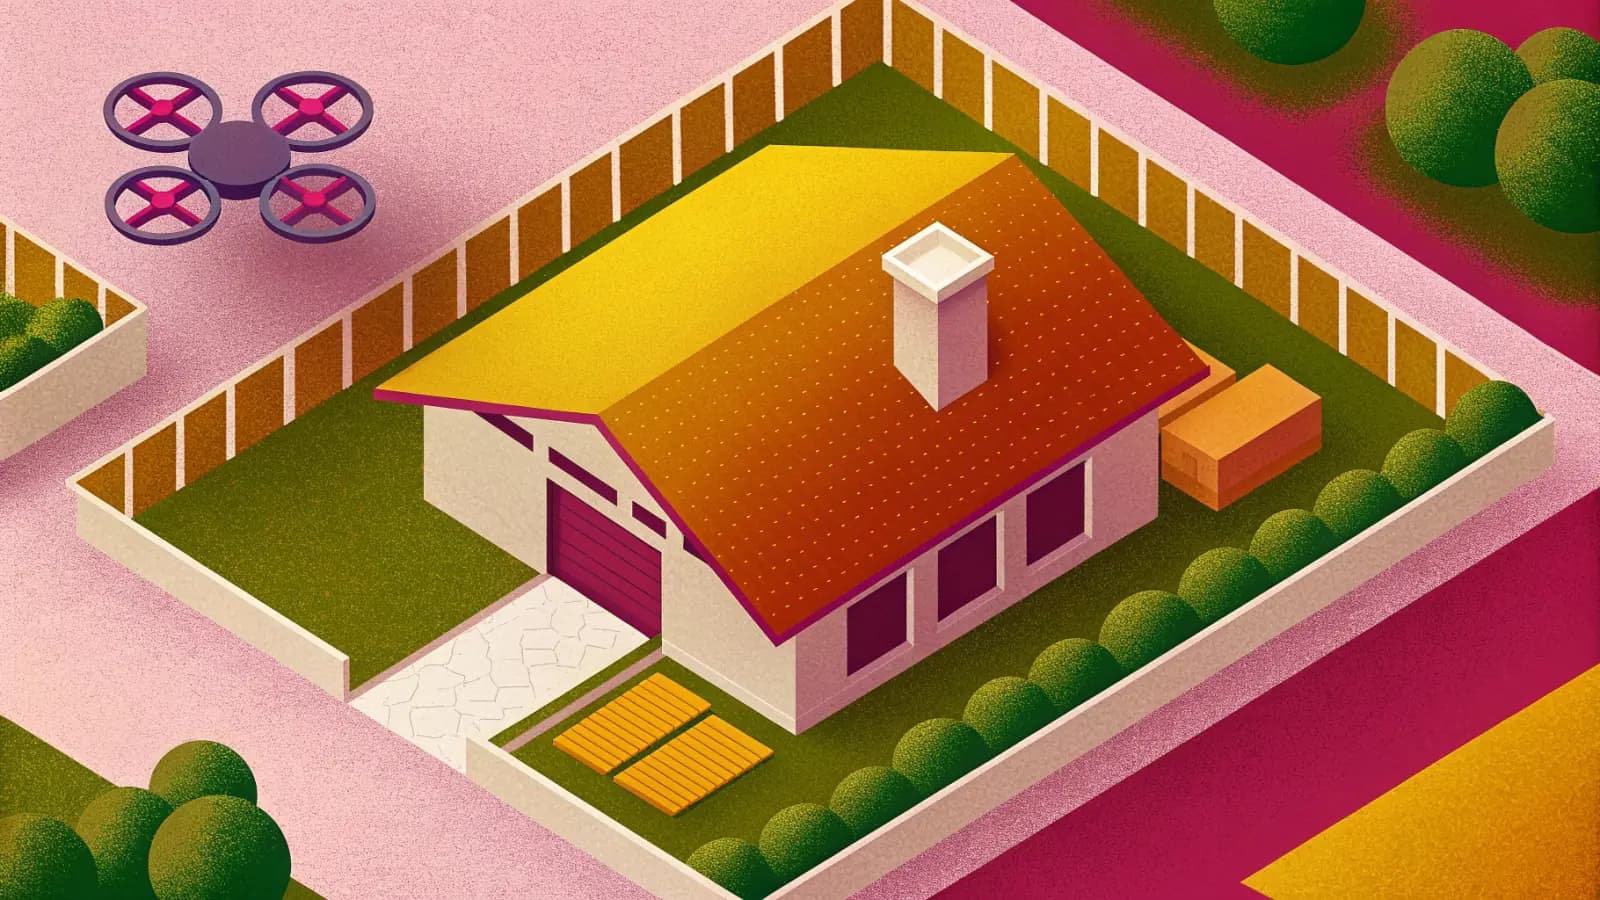
Most drone footage ends its life as a video. A fixed path, watched once, from the angles the pilot happened to fly. The same footage can become something else entirely. A few minutes of careful circling around one building carries enough information to rebuild that building as a three dimensional scene, which somebody can then spin, zoom and look under in a browser.
Terasor does that conversion for any pilot on the platform, free, in a part of the site called 3D World. This is how it works and what the footage needs.
What comes out the other end
The result is not a mesh and not a CAD model. It is a cloud of millions of tiny coloured shapes, each one placed in space and angled so that from any viewpoint they add up to a photograph. The technique is called Gaussian splatting, and the reason it suits drone work is that it copes with the things a mesh struggles with: foliage, glass, thin railings, and the soft edge of a roofline against the sky.
What a viewer gets is a page they can drag to orbit, scroll to zoom and open full screen. No plugin, no app, no download.
What a 3D scene is good for
A video shows somebody what you chose to show them. A scene lets them look for themselves. They can drop under an eave, circle to the side of a building that was never in the video, or walk a site without visiting it. A roof inspection becomes something a surveyor can return to a week later and look at again from a different angle. A heritage building becomes a record that holds more than a set of stills.
None of that replaces a measured survey. It sits between a photograph and a survey, and it is often the thing somebody actually wanted.
What the footage needs
One subject. A building, a roof, a monument, a site. Not a landscape, and not a tour of several things in one flight. That is a limit of this first version rather than a limit of the idea, and there is more on it at the end.
A slow, steady circle, with the subject filling most of the frame and the camera pointed at it throughout. The processing works by finding the same physical point in hundreds of separate frames and working out where it sits in space. Anything that breaks that correspondence costs detail: flying too fast, letting the subject shrink into the distance, or swinging the horizon through the shot.
Start recording once you are already circling. Takeoff, the ground rushing past, and the part of the flight where you are still lining up all contribute nothing, and they give the processing frames it cannot match against anything.
The full set of rules, with photographs of what a wrong frame looks like, is in the 3D Flight Guide.
Camera settings
4K at 30 frames a second is enough, and 4K60 needs no changing. Processing keeps two frames from every second of the clip and scales each one to 1600 pixels wide before anything reads it, so a higher frame rate adds file size and nothing the scene can use.
Resolution above 1600 pixels wide is not kept either. What 4K still buys is a cleaner frame after that downscale, because more recorded pixels are averaged into each one, which softens the compression in the file. So the setting that matters is quality rather than size: pick the highest bitrate your drone offers.
Past about three minutes twenty, processing drops to one frame a second, so a longer flight adds file size without adding frames.
The .srt sidecar
Upload the .srt sidecar alongside the video. It is required. The sidecar is the flight record your drone writes next to the clip, and it is where Terasor reads the date the flight was made. It is never shown and never published.
Most drones write one automatically. If yours does not, turn it on before you fly: a sidecar cannot be made after the event, and a capture cannot be uploaded without one.
What happens after you upload
A person looks at every capture before it is processed, and again before it goes public. Nothing is published automatically, and nothing appears under your name without your flight having been looked at first.
Processing runs on Terasor's side rather than in your browser, so you can close the tab and come back. Your dashboard shows which stage a capture has reached. You get an email when yours is published, and an email with the reason if it is not going to be processed.
Credit, and where a scene can travel
Every published capture carries the pilot's first name and surname initial. If you have a public pilot page on Terasor, the credit links to it.
Each capture gets its own page at its own address, and anyone can put the viewer inside their own site with a snippet from the share panel. The embed keeps your credit and a link back to Terasor, so a scene that travels still points home.
Where this goes
This is the first version of 3D World, and it is deliberately narrow: one subject, one flight, one scene. That narrowness is most of why it works reliably, and it is also the obvious thing to widen. A whole place is the interesting problem. A street, a churchyard, a site with several buildings standing in relation to each other, needs a different kind of flight and more than one pass brought together, and it is a genuinely harder thing than circling a single object. It is what we want 3D World to do next.
There is no date on that, and nothing above depends on it. What is described in this article works today.
Where to start
Read the 3D Flight Guide, fly one building, and upload the clip with its sidecar from 3D World in your dashboard.

Terasor Team
Notes on drone regulation, equipment and the working side of aerial services, for the people who fly and the people who hire them. Terasor is a platform for professional drone services and aerial content.